5 Easy Steps to a DIY Garden Pond
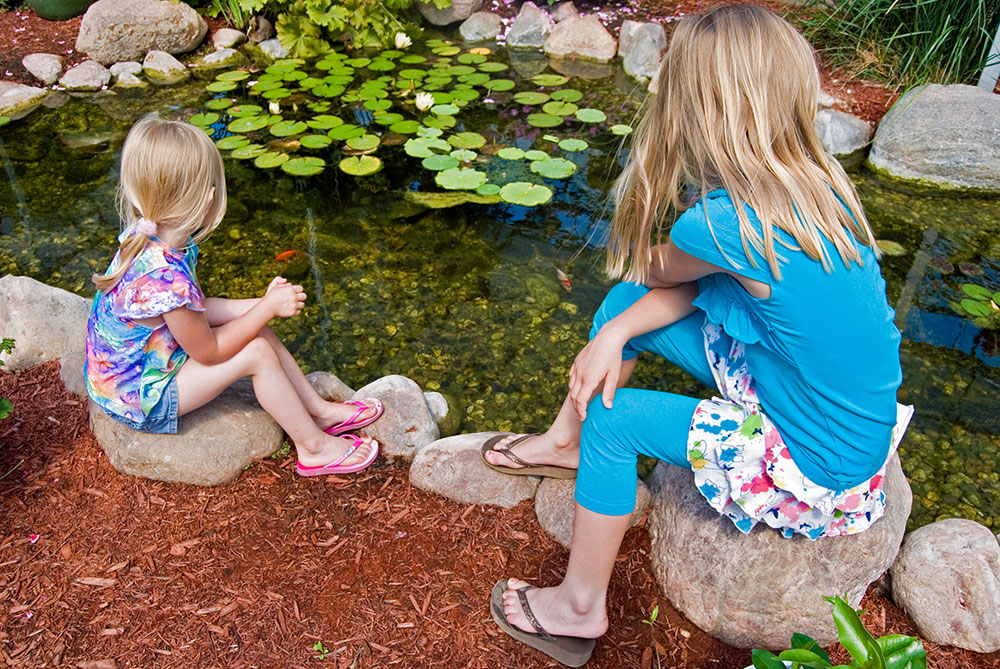
Working together with the family to build a beautiful pond in your garden can be a very engaging project. There is water, mud and a whole lot of teamwork! Afterwards you can sit by the pond and enjoy the serenity or look forward to watching birds play in it from your kitchen window for years to come. It’s a great way to bring more life to your garden!
Let’s look at what you’ll need to do to get this done!
- Choose the spot and get what’s needed.
- Create the shape and set your level.
- Dig and built the banks.
- Line and edge with feature stones
- Fill and decorate!
1. Choose the spot and get what’s needed
It’s good to gather together all that you need before you begin. The good news is, you don’t need much, here is what you’ll need to gather.
- 3 lengths of 150mm flexible Straightcurve Steel edging
- 3 x 2m of heavy duty pond liner
- Large feature rocks to edge pond
- Clean fill sand (if required)
- Rubber edge trim piece (if creating an overflow)
- Drill & Angle Grinder
- Spirit Level Digging tools
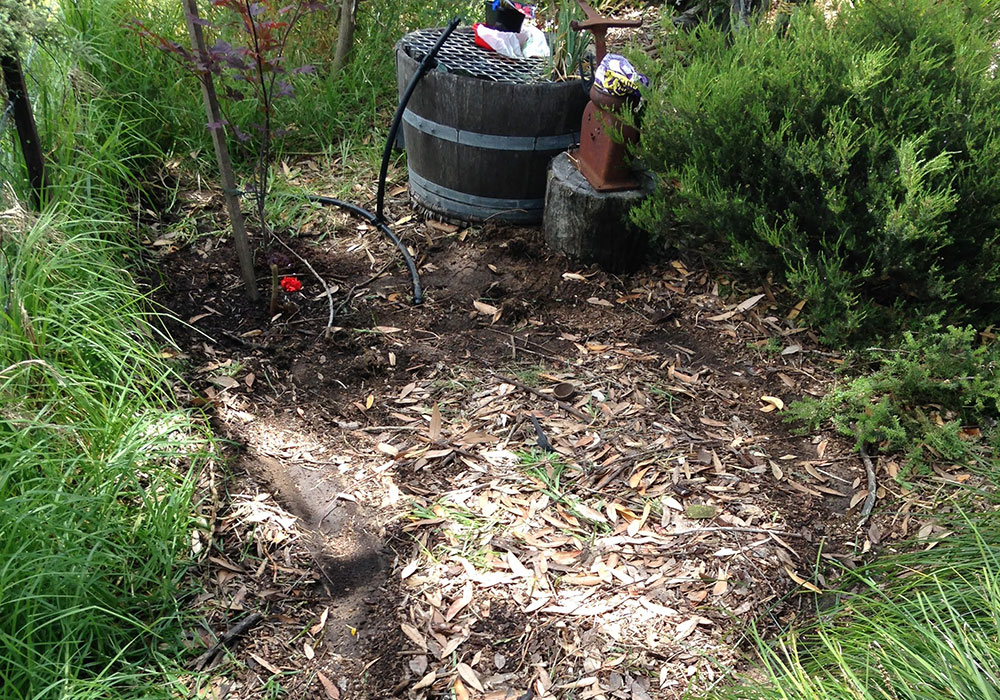
Find the perfect spot
2. Create the shape and set your level
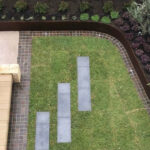
The shape you’re looking for is slightly elongated – think peanut or kidney shaped. This allows you to easily fit your pond liner provided the liner is at least 2m wide. The pond shown in the pictures is 2.5m long by 1.2m wide at its broadest part.
Connect the flexible steel edge lengths together first, you can then easily fashion the shape to your taste. Do this with the smooth face on the inside and screw outwards when joining through the guide holes. Use your spirit level to get the edging height level in all directions. Peg the edge at this time to this correct finishing height – think infinity pool!!!
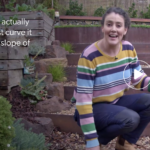
You may like to create an overflow point to feed a future shade tree or possibly trickle into a creek bed. If so use the angle grinder to cut a shallow notch (5mm no more) where you’d like the overflow to be.

Use steel edge to level pond
3. Dig and build the banks
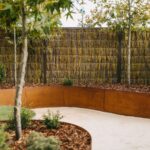
With the edge positioned perfectly you can now dig out the pond. As you do this, carefully build up against the steel edge on the outside using what’s excavated to create a platform all around. You will later be using this platform to rest the surrounding feature rocks. The depth you go to will in part be determined by the width of pond liner you have and/or any local regulations on what is allowed before requiring a pool fence! Smooth off the base and round up toward the edges on the inside to finish. If concerned about sharp rocks below, use some clean sand fill as a base layer.
4. Line the edges with feature stones
You can now introduce the pond liner. Once in place and filling the shape cut away excess but take care to keep a generous overhang. You can hide the excess of the pond liner by digging it into the bank you’ve created. At this time you can add the rubber edge trim piece to the overflow (if you’ve made one) to press the liner to the cut out dip.
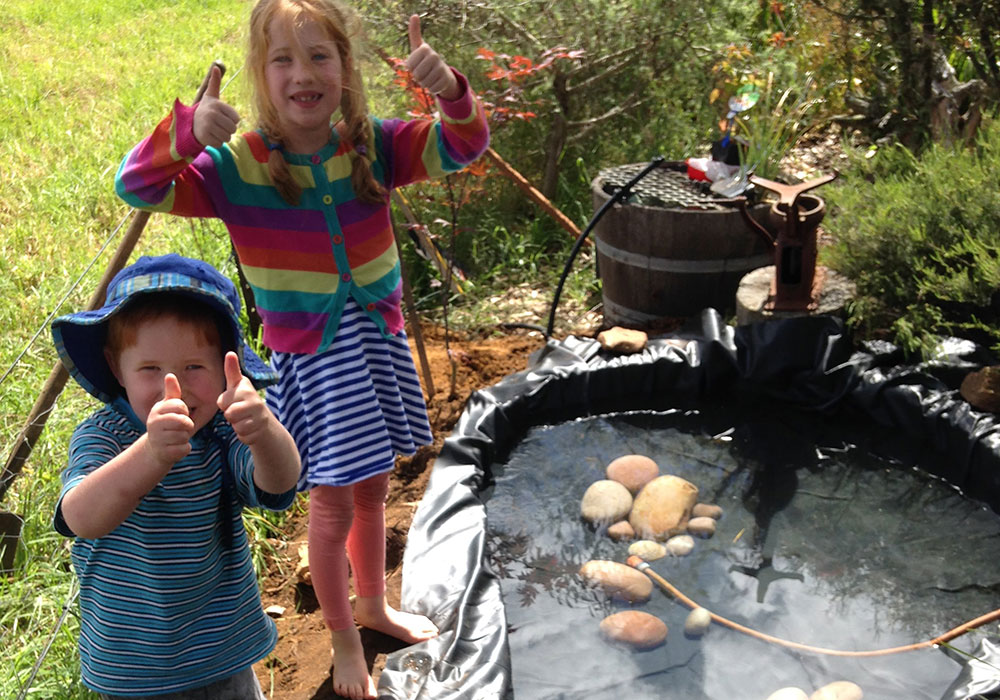
Almost there!
5. Fill and decorate!
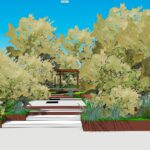
You can now fill your pond with water. This will take some time and you may choose to have a tea now and contemplate the decorations. Consider adding some clean fill sand, perhaps some water plants or planting up around the pond. Maybe a foot bridge for the birds to perch upon… it’s all part of the fun of decorating!
To make the setting even more inviting pond fountains are a great touch and plants among the rocks will help the pond blend with your garden.
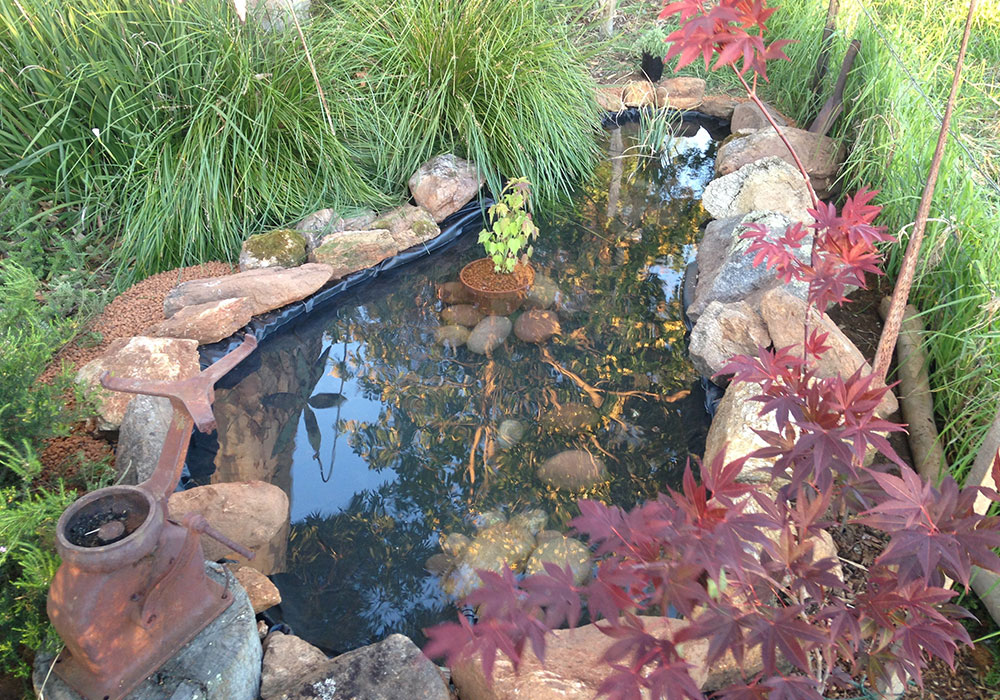
Filled and Decorated
My favourite place to read is next to the pond in my backyard.
– Rey Mysterio
Latest Posts
-
 Raised Garden Beds Bunnings – Are you searching for alternatives?
7 April 2024
Raised Garden Beds Bunnings – Are you searching for alternatives?
7 April 2024
-
Swimming Pool Landscaping: Building a Garden Paradise with Steel Edging | Case Study
20 March 2024
-
Sloping Garden Ideas – Using Steel Garden Edging For Planters, Retaining, and Steps
29 February 2024
-
Built Up Garden Beds | How To Plan Your Raised Gardening Project
13 February 2024
-
An Essential Guide to Raised Garden Beds | Straightcurve Steel Garden Edging
2 February 2024