The Six Steps to Laying Your Own Lawn
Want to know what it takes to have a thriving lawn you’ve laid yourself?
We’d like to give you a few tips on laying the lawn so it will thrive. Knowing the steps to follow will mean you can manage the process more easily. These steps focus on what it takes to give you the best looking lawn to enjoy for years to come.
Step one – work out the square meterage
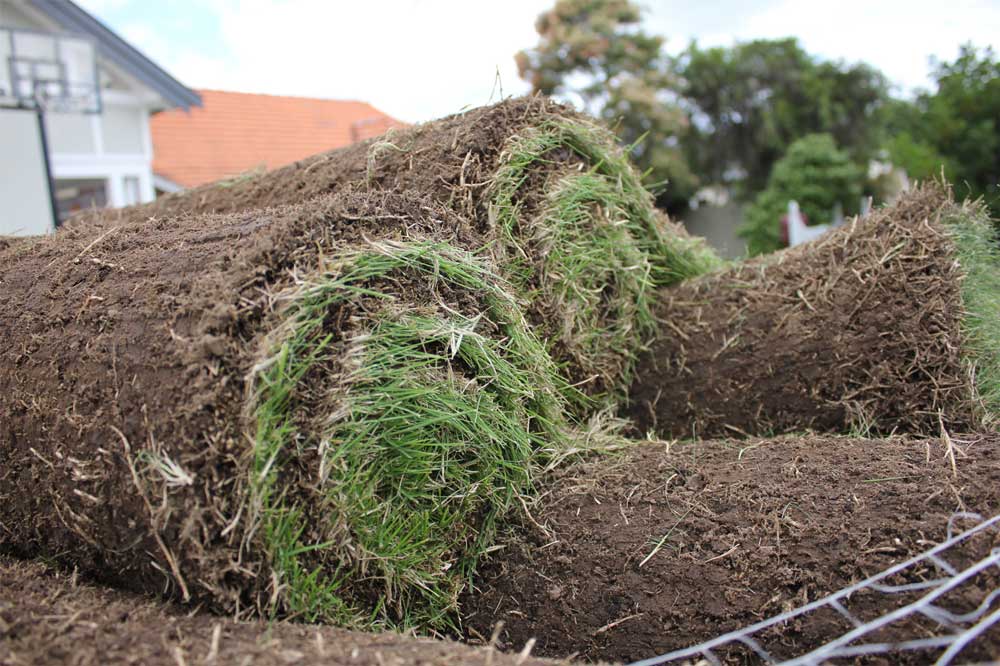
Let’s start with something easy. With your lawn area already edged, knowing the total area will be handy for getting what’s needed; be it soil conditioners, fertiliser or the lawn itself. Simply measure and calculate this or with irregular shaped lawns, drag your foot along or use a marking paint to create a grid of squares — sides of 1m — on the ground. Add them up, grouping the incomplete squares in your head as you go to get a pretty good idea of the square meterage involved. When you order the turf itself, order 10% more than that to be sure you have enough.
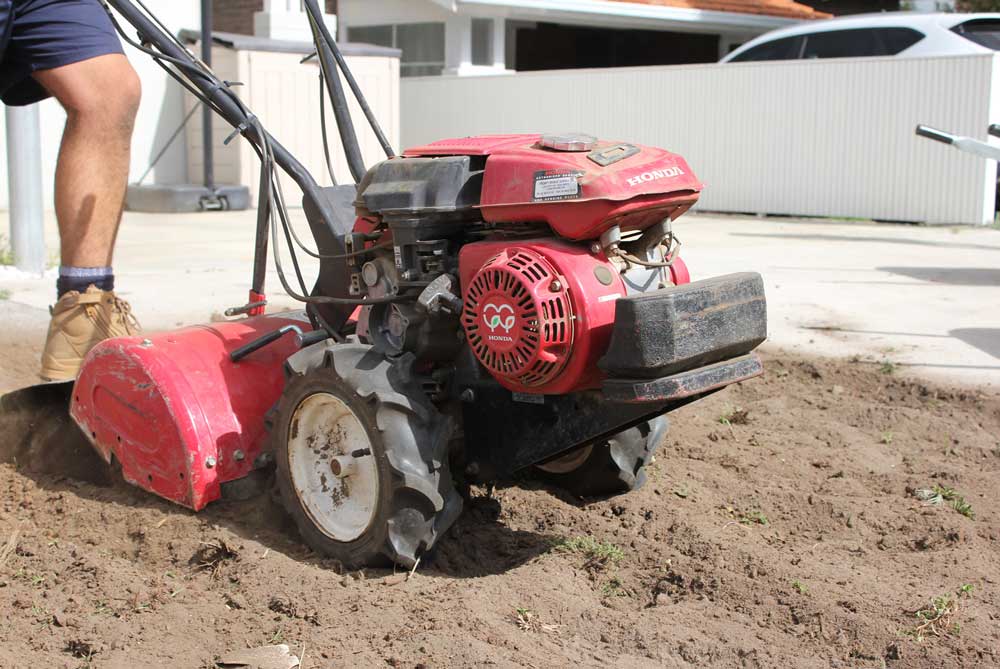
Step two – assess and prepare the ground
A simple understanding of the ground at your place is a great starting point. Is is loose and sandy, hard and compacted or more like a loamy clay? This will determine what you add to bring it to a good condition for your lawn to feel loved. For a sandy soil that is common for many coastal areas you want to improve the water and nutrient holding capabilities of your base with appropriate soil improvers. In heavier soils you may need to focus on loosening things up with soil conditioner introduced and worked in (say 100mm thick). Hiring a tilling machine is a great way to get it done with a minimum of fuss.
Also consider the finishing height of your lawn. Knowing the thickness of the turf beforehand will be handy (turf varieties will differ), but generally allow around 40-50mm between the base sand and the top of the edge. Getting this right will leave some edge to trim against later as your lawn flourishes!
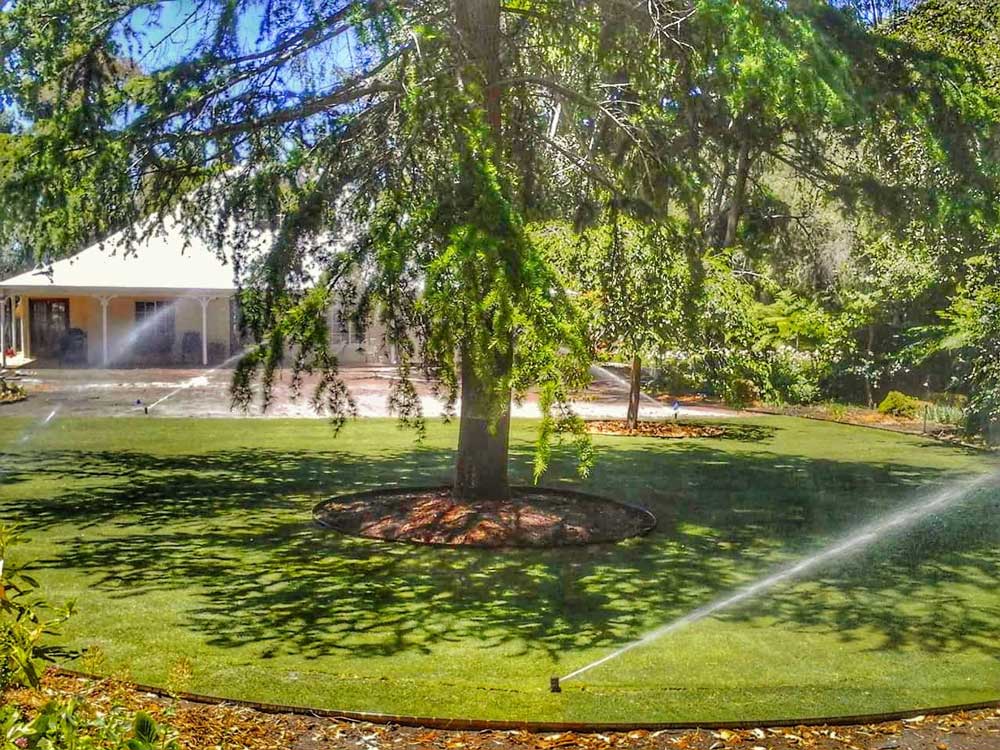
Step three – think about water
A lawn that enjoys even watering is going to be happiest. Consider drainage and water flow when preparing the base such that water doesn’t pool in one area or flow towards buildings. If the soil is sandy, it’s more about adding clays or other water holding products to keep it there!
A properly set up reticulation system will make water management easy for you in the years ahead. If this is not your thing, call in an expert to make sure you get this right or work closely with a quality reticulation supplier who can walk you through the installation from your plan.
Step four – work in the best feed for your lawn
Having added what’s needed to improve the growing conditions, providing a nourishing feed for your lawn is key too. Find a starter fertiliser to encourage deeper root growth and really support your lawn in the establishment phase, scatter it evenly across the levelled area.
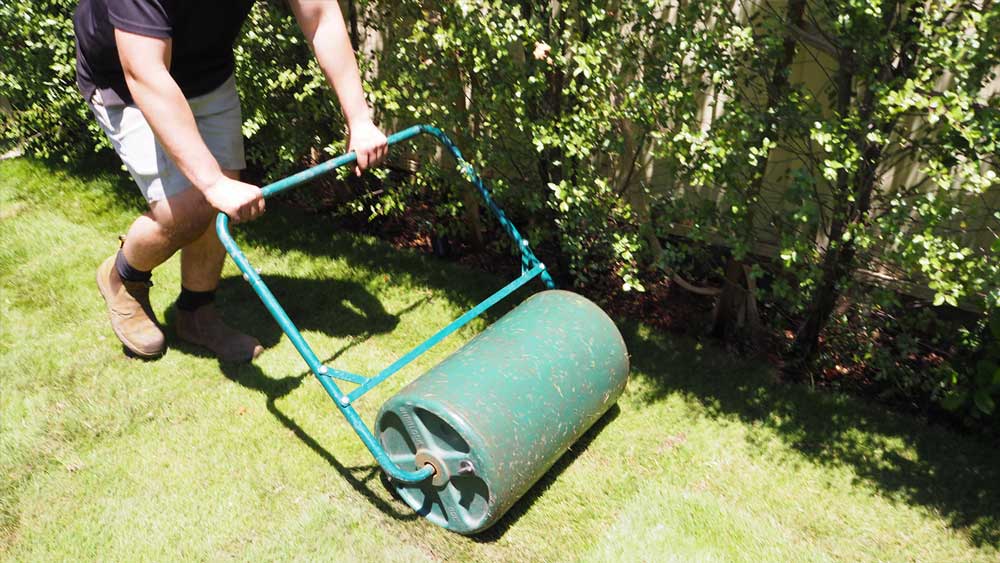
Rolling your surface now is a great idea to keep it firm and level, but be careful not to make it too compact, you don’t want a hard surface that is difficult for the turf to establish its roots into. Wet it down now and you’re ready to lay your lawn.
Of course you’ve timed the delivery time perfectly… here comes the truck!
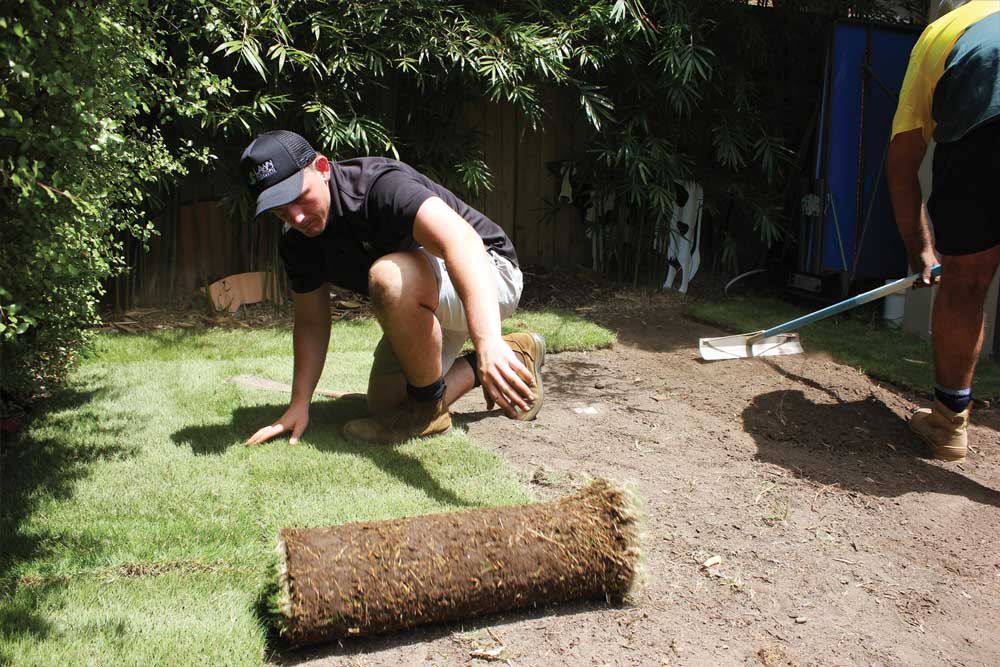
Step five – laying the lawn
Laying the lawn is the most rewarding part. It’s fun to do with friends helping out if you want it to happen quickly. Here’s some tips on laying the turf :
- To make things easier think about the most convenient drop point for your turf delivery.
- Plan the lay to begin at the furthest part from your delivered turf so you can work your way back and not walk on the freshly laid turf.
- Choose the best long run to tackle first. Long runs require less cutting.
- Adjoining runs should be staggered to avoid seams falling in the same place, so using a portion of a roll at the start of a new run is a great trick. Knit the turf snug as you go, there should be no gaps!
- You will need to cut away excess as you go. That which is cut away is still used to fill spaces or begin the next run. As for cutting tools an old bread knife works great!
- Use a full roll against a finishing edge, you don’t want small filler pieces here. When necessary the thinner cuts should be one roll in from the edge.
- Keep the turf moist throughout this process, it’s great if you can do it early in the morn if you’re laying in summer.
Step six – finishing touches & aftercare
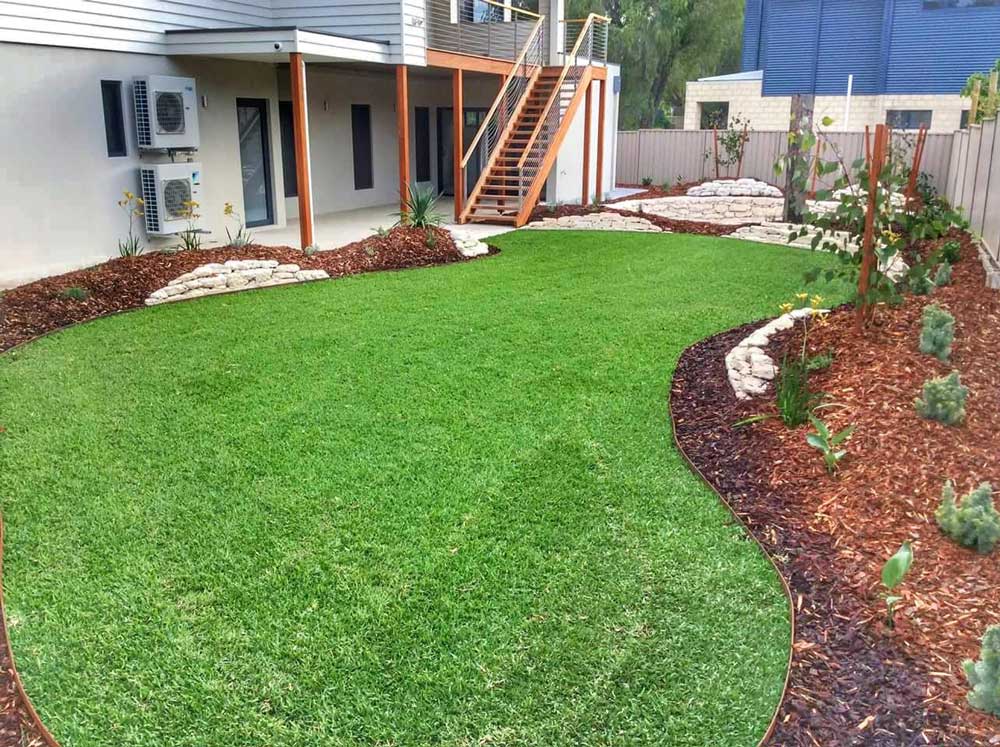
Once the lay is complete and you’d done a quick tidy, compact once across the top to give a professional looking finish. Soak the turf now and maintain moisture until the roots have taken hold such that the turf cannot be lifted. This establishment phase is critical for a resilient lawn, depending on the season you should be watering deeply every day for the first 3 weeks.
Get the best aftercare advice for your area and season by speaking with your local Lawn Solutions Australia accredited turf supplier or accessing their advice online.
Thanks to Lawn Solutions Australia, with help from Jason Hodges, for helping us put this info together for you.
Latest Posts
-
 Corten Steel Edging: A Quick Guide to Weathering Steel for Your Garden
15 March 2026
Corten Steel Edging: A Quick Guide to Weathering Steel for Your Garden
15 March 2026
-
Garden Bed Edging Ideas: What Works, What Lasts, and What’s Worth
15 March 2026
-
Celebrating 10 years of Straightcurve at MIFGS
9 June 2025
-
Garden Edging Ideas: A Guide to Better Garden Design
25 February 2025
-
26 Modern Australian Front Yard Ideas to Transform Your Space
31 January 2025